Order from Chaos Pt.3
Build a killer time tracking with SharePoint online
When you got your licenses all in order, the users are set up and everything is ready to begin you can start to actually build up your SharePoint landscape.
In my case I’ll start with a time tracking. That was the one heart’s desire of the Kita’s manager.
So here I will show you my solution with a detailed instruction, how to build a killer time tracking feature in Sharepoint.
And that was the task: to build a SharePoint list with different views for different staff members. Every employee can add items in which they track their working hours, the date, what they’ve done and maybe a field for comments. Those items need to be listed and ordered by the date. In the end I have a list which shows on what day an employee worked how many hours.
Additionally, I wanted to create an overview, which lists the working hours of every employee. That view is for the manager.
Although I am a huge fan of the modern SharePoint online experience, I’ve created this list in the classic view, because it gives a much clearer overview over the working hours.
So, let’s dive right into this…
1. Setting the list
After you have created a new list, you (at least I did) want to set the default view to classic, because of the better overview.
Therefore I click on
**List settings **(cog wheel in upper right corner) → **advanced settings → List experience **(last point at the very end of the page)
There you find the option to display this list using the classic experience. Click on Classic experience

While you are in this menu you can also enable content types (very first entry in the advanced settings)

You need to do that if you want to get rid of the mandatory title field. For this list it is not absolutely necessary, but I would advise it. It looks nicer and you will need this feature one day. Believe me. Matt Wade has an excellent description on icansharepoint. Check this out for further details.
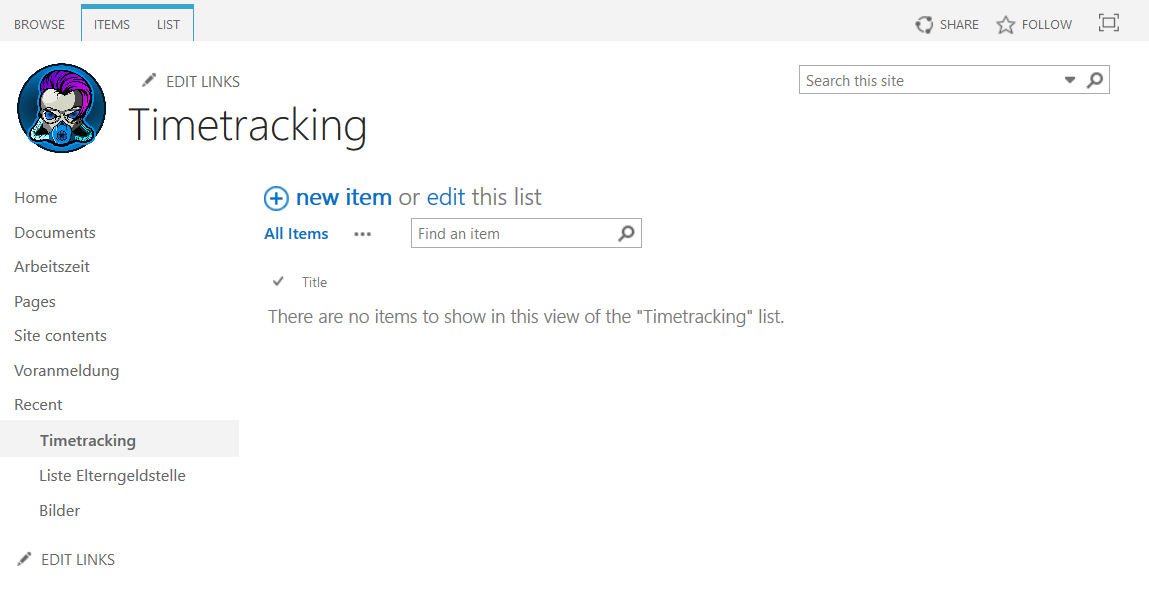
After that your list looks like this (the older ones among you might recognise this view 😛)
Setting the columns
Okay, we will need following columns (in the brackets you can see what kind of column I used):
Name (Choice) *
Working hours (Number) *
Date (Date) *
Task (Choice) *
Comment (Multiple line of text)
Month (Calculated)
Year (Calculated)
The columns marked with a little * require that this column contains information. That prevents anyone from making nonsense with this list 😉
Here are my hints for those columns who are not self-explanatory:
**Name (Choice) **— The choice employees can make here is their name. Therefore, you have to put in all the names, that you will need later on.
Hint: I’ve added another option called “insert name” and made that the default value. So, everybody sees the info “insert name” in this field
Task (Choice) — Here I’ve inserted every task the employees have to do, e.g. office, cleaning, preparation, etc.
Same trick as with the name column: add another value like “insert task” to help the employees 😉
Month/Year (Calculated) — If you want to see the current month/year only, here is the correct formula:
Month: =TEXT(Date;”MMMM”)
Year: =TEXT(Date;”YYYY”)
There you have it. That is all you need for the initial list. That wasn’t difficult, was it?
Okay, next step: Employees views.
2. Employees view
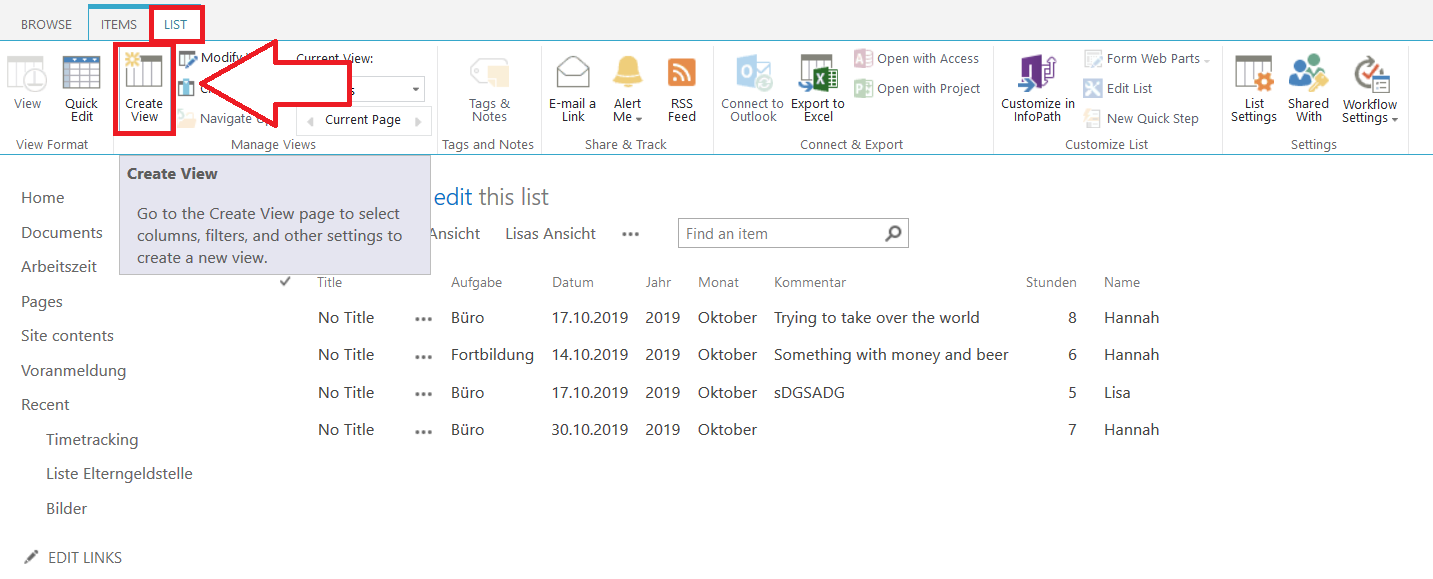
You want to create a new view for every employee who shall use this timetracking. You can find the “create view” button at List → create view in the upper ribbon.
Choose standard view
Set a name, e.g. Hannah’s view
Set the columns and the direction like this:

Columns:
- Name
2. Hour
3. Date
4. Task
5. Comment
6. Month
7. Year
Here is the rest of the settings:
Sort:
First sort by the column “Month” — Show items in ascending order
Then sort by the column “Date” — Show items in ascending order
Filter:
In Hannah’s view you only want to see items that were created by Hannah, so:
Show items only when the following is true: Column “Name” is equal to “Hannah”
Group by:
If you want the entries group by the date, change the settings as follows:
First group by the column “Month” — Show items in ascending order
Then group by the column “Date” — Show items in ascending order
And that’s it. In the end the result looks like this:

Hint: I am a fan of the “Total” function SharePoint offers. For many employees the information can be a little bit overwhelming, but I really like it.
If you want to see the sum of all working hours per month, just take this little extra step:
In the view settings, click on the tab “Totals”
Totals: Column Name — Hours — Total: Sum
Now you can see the sum of the working hours per day and per month:

3. Managers view
The managers view is really simple. Create another view and name it “Managers view”. You can do everything like before, but you leave the Filter-function untouched. Then you can see everybody’s working hours sorted by date and have a perfect overview. You can order it by name. To get that, just change the setting in the view:
Sort:
First sort by the column “Month” — Show items in ascending order
Then sort by the column “Name” — Show items in ascending order

4. Creating an overview site
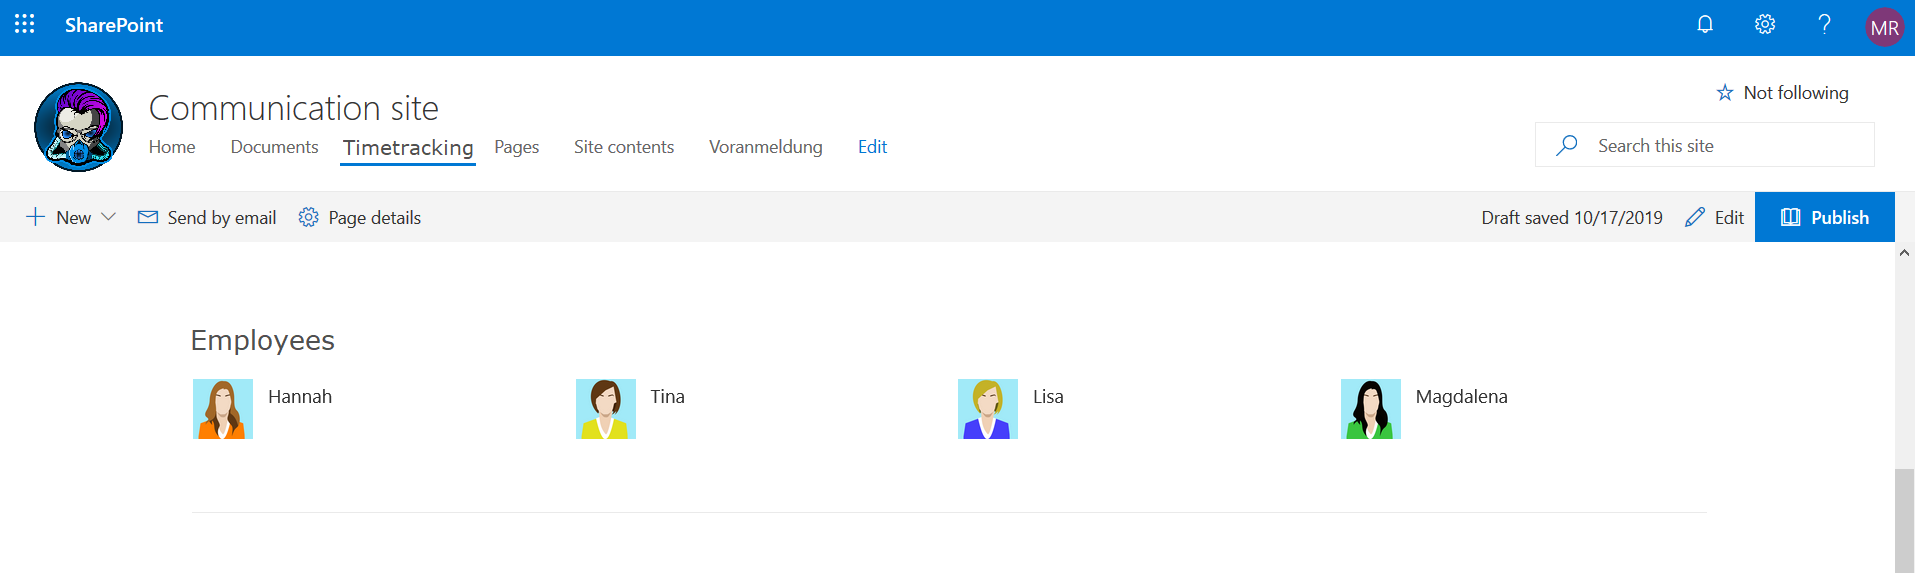
I don’t want the employees to search for their own view in the List navigation on top. I have the feeling that this is kind of complicated and leads to different mistakes, so I’ve created an overview site. Something like a hubsite, where every employee finds a picture with his/her name. A click leads to the correct view:
The most useful way, in my opinion at least, is to create another communication site and use the webpart “Quicklinks”. I’ve tried some other webparts, but none of them worked the way I wanted it to. The pics were too big, I didn’t like the order, etc.
If you want it like in the picture above, use the webpart “Quicklinks” and use the following settings:
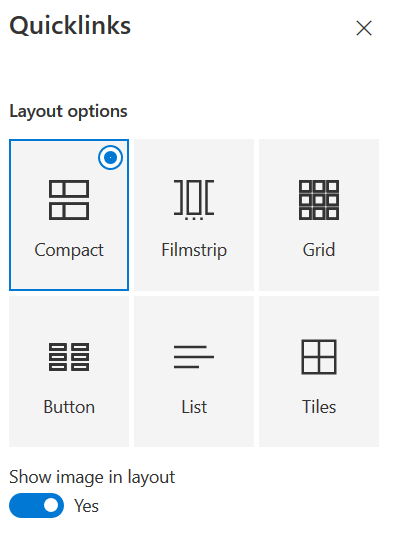
Each link leads to the correct view (you can find the link to the view in the menu, where you can modify the view. It is the very first entry. Just copy past it to the Quicklink webpart).

And there you have it. That is all you need to build a basic, but very effective time tracking with SharePoint.
Do you have any questions? Or even better, suggestions on how to improve this? I would love to hear your thoughts. You can reach me at twitter (@Gezeitenbrand) or LinkedIn (Michael Roth).